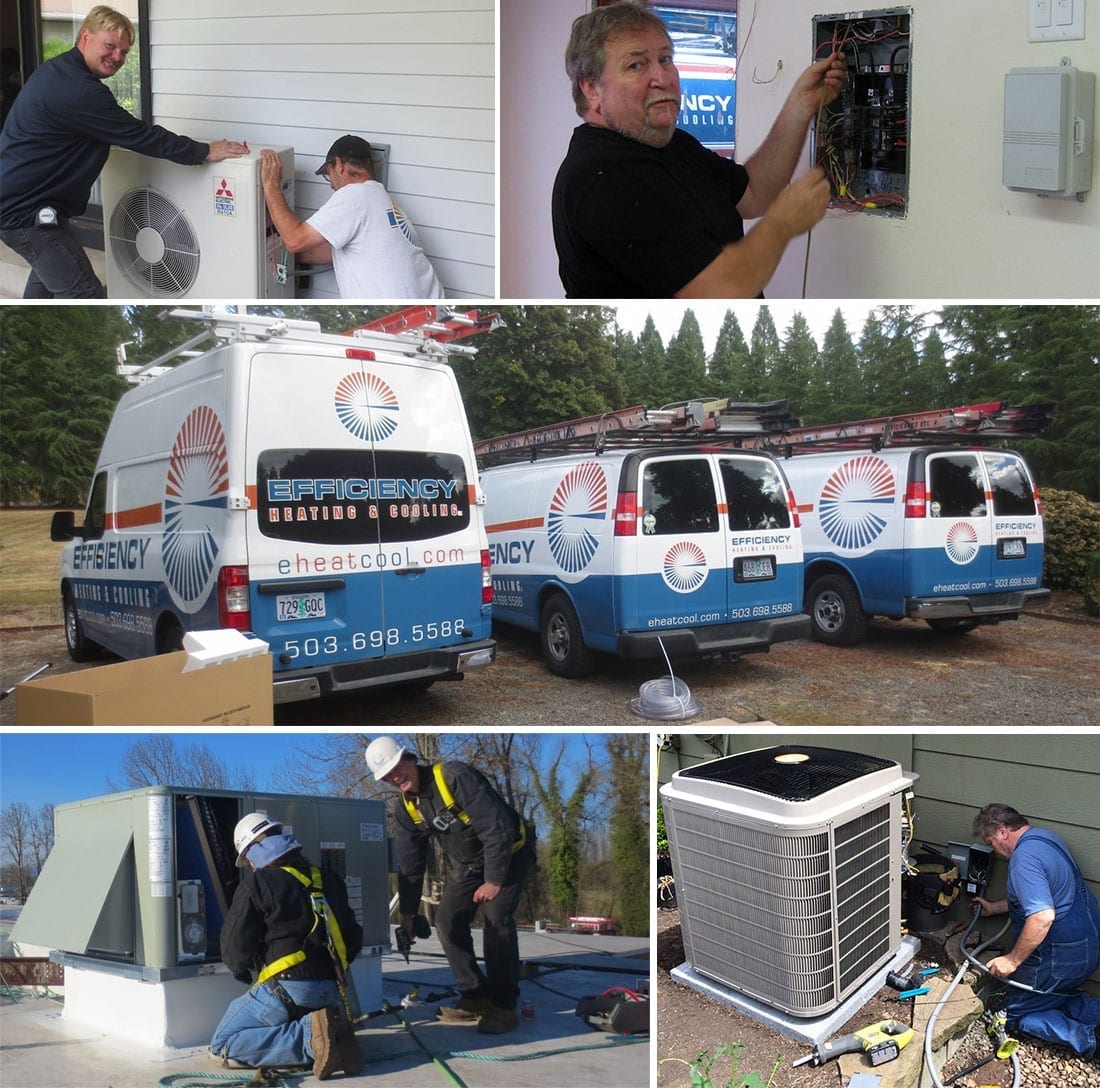
We hope you’ve enjoyed (and are still enjoying) a perfect Christmas season with family and friends! Efficiency Heating and Cooling is honored to serve the greater Portland area as a leading residential and commercial best HVAC contractors.
2014 Marked New Changes
We’re very passionate about delivering the absolute best for our customers, and this affected all of our work this year, and will continue to do so on into the future. 2014 marked some big changes for our company including a new primary office location in Milwaukie, a partnership with Bryant, additions to our team and also new, very happy customers! Thanks for the great year, and we can’t wait to continue serving our Portland residential and commercial customers.
If you’ve found us online and haven’t used us for your indoor comfort needs, you owe it to yourself to make 2015 a better year by giving us a call! If you’re looking for a Portland HVAC company who does what they say and who delivers industry leading HVAC solutions, then you’ve found the company! We promise, once you experience the difference in Efficiency Heating and Cooling, you’ll never call anyone else for your HVAC needs.
We wish everyone a blessed wrap up to 2014, and an exciting and fulfilling new year!
Repair work that you will desire a professional to do
A great deal of individuals think about the heating system as one of their house’s crucial devices, which is quite real most specifically throughout cold weather, when getting some heat consumption is really crucial.
In addition, this is the very reason that understanding how to repair your heater incase some troubleshooting issues occur can be extremely important.
On And Off Problems
If your heater continues switching on and off, this is generally simply a basic issue with the system’s heat anticipator. To begin fixing, just find your thermostat and open it. When you open package, you will see inside a little disk that lies in the middle. Take a great take a look at the disc. You will see that it has a variety of calibration notches.
Take a more detailed look and you will discover the word “LONGER” on it. Then, look for a little manage that touches a wire. When you find that little deal with, turn it towards the word “Longer”.
After finishing the actions, switch on your heater and let it run for a couple of hours. If it works alright, then you are done. Nevertheless, if the heater is still switching on and off, simply duplicate the actions provided above.
Continue doing so up until the issue stops.
Stopping Problems
This issue is likewise a simple one, which resembles the very first issue. All you need to do is eliminate your system’s thermostat cover, then follow the stated actions in the very first issue. However, in this case, what you need to do is turn the clockwise to “SHORTER”, rather of moving it towards “Longer”. This must repair your issue. If it does not simply duplicate the actions till you get it working.
No Heat Generation If your system is not producing heat, then the issue is most likely the pilot burner. Attempt to have a look at your pilot burner and see if it is switched on or if it is out. If you discovered it to be out, then you would need to relight it. In case you do not understand how to relight it, merely consult your system’ manual or call your maker. This is a fairly simple job that you can do by merely following some basic guidelines.
No Air Problems
If your system is running however does not blow any air, then here is how you fix it. Initially, you need to switch off the power of your system. Likewise, you need to shut off the gas from the gas valve which is serving your heating system.
Then, eliminate the door of your heating system cabinet so you can have access to your blower.
When you currently have complete gain access to, take a look at the number that is marked on the belt of your heating system.
Then, go to your regional store and get a precise replacement of the belt.
When you’ve got the replacement belt, then return to your heater cabinet and set up the brand-new belt.
Typically, you can simply slip it on your motor’smaller sized sheave then put it on your motor’s blower pulley-block. Attempt turning the blower pulley-block utilizing your hand, while you hold the belt in location. Beware from having your fingers captured however.
If you get this right, you need to have the ability to get the belt right in location. If it looks a little too tight, then you might require to change the motor install so there can be more slack in the component. After changing, attempt to re-tighten the stress once again, when you have the belt in the ideal location.
It would be much better to inspect your maker’s requirements concerning the correct stress required for your system. Typically, your belt needs to deflect a minimum of about an inch whenever you push it down.


")


